Thursday, July 31, 2014
Writing Center/Lego Closet
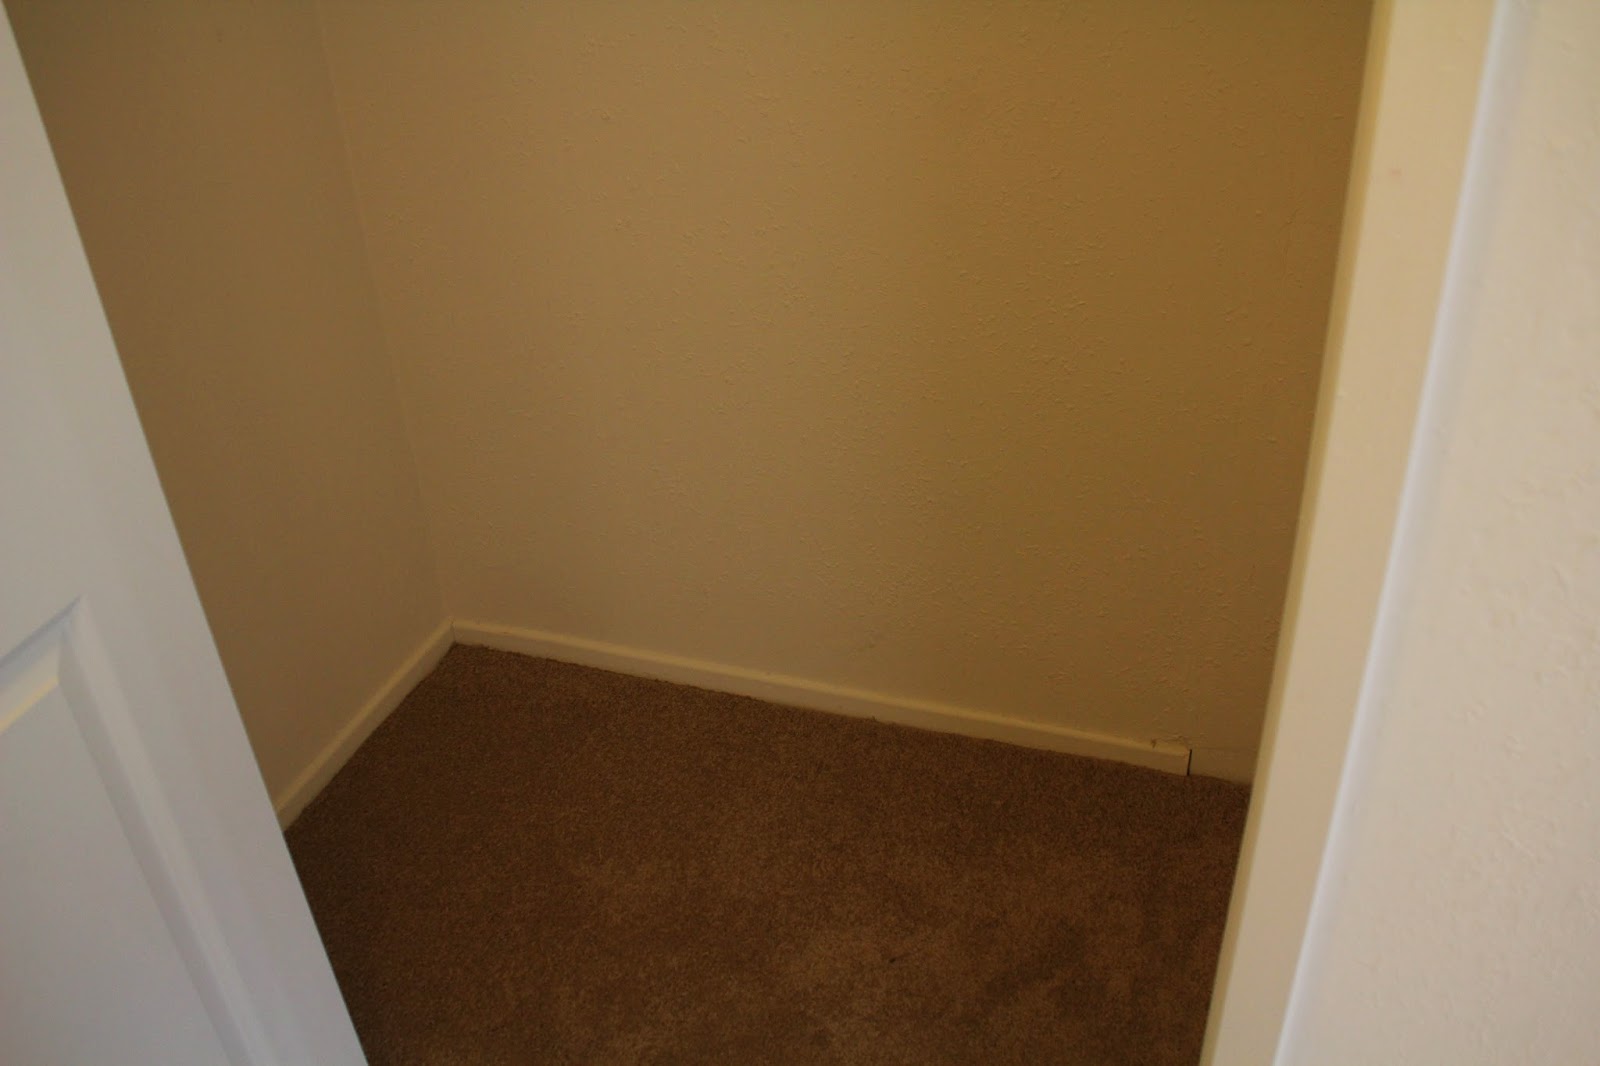
Remember this closet?
It's halfway down our hallway and was completely empty when we moved in.
The landlords gave us the thumbs up to installing shelving.
Here is how it looks now.
One of the first things we did was change out the knob on the door. Our son picked a crystal one at Home Depot. The clip to the right of the door is to hold a remote for mountable LED lights.
We installed three tap LED lights from Costco under his bottom shelves at the same time that we added shelving to the closet.
We originally planned three wall shelving at two levels for a total of six shelves. We just never finished the cuts or installation on the top level. Maybe we'll get there sometime in the future? As it stands now, the shelving isn't full presently.
To the left inside the closet is the writing/drawing center. There is a table (and chair) with construction papers and a drawing pad. Next to the table is a small bin for collecting paper waste. The small organizer on the table has scissors, glue sticks, scotch tape, and rulers.
Hanging above the trash are two mini clipboards for any work that might require a moveable writing/drawing surface. The lower shelf holds colored pencils, large markers, mini markers, crayons, gel crayons, pencils, and glitter glue. Hidden behind is watercolor pencils and chalk pastels.
In the back corner of the shelving is a large roll of paper. We tear off pieces for drawing or painting. Whatever art related thing that strikes our fancy. There is extra construction papers and spiral notebooks, different notepads, ruler style stencils, envelopes, and word strips. That area is really meant to offer a variety of things to write on in hopes of encouraging writing practice.
To the right of the closet is our lego table. Beneath it is a bin full of legos! We have smaller containers to organize out different pieces (people/pets/accessories, small building pieces, etc), and a small bin for various kit instructions, although the large bin does not stay as organized as I would like.
On the shelving, starting from the word strips are small mailboxes for each member of our family. I got those in the $1 aisle around Valentine's Day a few years ago. It was a wonderful way to encourage writing, even just scribbles, when our oldest was developing the skill.
The green tub is full of stickers. And I mean full. Hiding in the corner is sidewalk chalk. The rainbow tubs hold various paints. Washable crayola tubs and my ridiculous collection of acrylics. The organizer has painting tools and brushes. Then an art kit from Grandma (Michael's Crafting store), and some kits from various relatives that we have yet to use.
Upper shelves have things like Moon Sand and clay as well as extra large construction papers in People colors, and really cool pieces of past art that we've stored in a bag to keep.
So, that's our Writing Center/Lego Closet. This space is a pain to keep clean, but it sure is functional when it's in order.
Tuesday, July 29, 2014
Collaging Inspired by Eric Carle
Since I'm an ECE major, it's no surprise that I'm a big fan of Eric Carle's work. I love his art style and I recently had the exciting opportunity to watch a live interview showing his process in an ECE course. My class was then tasked with creating an Eric Carle style collage.
While I do not have the sophisticated tools or experience that he has, I'm very satisfied with my process and the results.
Essentially, Eric Carle makes many, many different sheets of painted papers. He'll miss colors to his satisfaction and try new ways of manipulating his tools to create different prints. Then he'll be given an idea or commission and draw a sketch. From the sketch, he'll pick from his giant stash of pre-made papers until he's satisfied. He then places the sketch over the colored paper and using an xacto knife, cuts out his paper using the sketch as a guide. Placing the sketch over his base sheet, he'll use the hole in the sketch as a guide for placing (and gluing) the piece he's cut out. Rinse. Repeat. Voila!
You can watch a video that shows some of his process here. It's incredibly impressive to me.
I used a lot of his process but modified it to fit my class needs. I changed his process by deciding what I wanted to represent before designing the painted pages I would cut from. I decided to make a collage of my three cats.
I started with free-handing a sketch (from memory) of the three. Yeah, it's pretty ugly.
Then I scanned the sketch and sent it to my computer. Using my very expensive and sophisticated Microsoft Paint, I cleaned up the sketch.
This is how it looked when I printed it out.
From the sketch, I was able to decide what colors I wanted in my picture and plan accordingly.
Rather than use the xacto knife assembly, I pre-cut every piece out separately and traced them onto the back of my papers. I then cut those pieces out (obviously I really should invest in an xacto knife to kill time) and assembled them on the base paper before gluing down.
After gluing, I used pastel chalk to draw their faces and limbs. This is where I ended up.
I love it. Love. It's framed (frame has changed since the taking of this picture) and happily living in my dressing room now although location is subject to change. Altogether, I probably spent 4-5 hours on this from start (sketch) to finish (framed).
My sister requested I do her dogs as a birthday gift to her. Her wish was my command.
Here are the dogs:
K
and B (Isn't my nephew the cutest?)
I didn't save a copy of the sketch (doh!), but here it is placed nearby the painted sheets I made.
And here's the sketch next to the nearly finished collage.
A close-up of the collage minus finishing details.
And framed conclusion next to the cleaned-up sketch. I didn't use pastel chalk for her finishing details but rather a sharpie. I only had a thick felt tip and had to get creative which is why the lines aren't always clean.
Collectively, I probably spent about 4-6 hours on this. Maybe an xacto knife should go on my wishlist? She loved it or she's a really good actress.
Now I'm getting some pressure from another sibling and my mother to do their respective pets. It's something I've enjoyed doing both times so it might be in my near future again. There's a specific memory of two passed pets that I'm thinking to bring to collage life We'll see.
Monday, July 28, 2014
Sisal Rug Remnants from Sisalrugs.com
When we installed shelves for our cats, we knew we would need something to place on them so that they wouldn't be slippery and a potential falling hazard to the cats.
While researching for cat friendly surfaces, I stumbled upon sisal. Sisal is natural, easy to clean, very durable, comfortable to walk on, great for indoor/outdoor use, and apparently cats love to scratch it and it is often used in scratching posts for cats.
Couldn't sound much better, could it? Well, I was on a quest for sisal when I stumbled on sisalrugs.com and discovered that they sell remnants! The remnants vary in size but they guarantee a minimum width and length.
You can only order the remnants in 10 lb quantities for $24.99. The order doesn't guarantee a specific thickness of the weave or color, but all of the remnants come with a non-slip surface applied to the bottom.
I ordered way too much (hah!). I believe I ordered somewhere close to 30 lbs of remnants. We have 4-5 rolls left of the stuff and I plan to make my own scratching posts for the kitties and considered distributing it to fellow cat owners or saving it for potential shelf expansions.
The remnants were of high quality. They function perfectly for the shelves! I simply laid them across the shelves after they were measured and cut to size. They don't slide very much and require little attention. We've had them up for over six months and there is no obvious fraying (despite daily abuse).
During the information gathering process, I e-mailed the company to ask questions. The response was very fast and incredibly polite, offering further assistance if new questions arose.
I'm very pleased with my experience with sisalrugs.com and look forward to using them in the future for my cat and human sisal needs! I would highly recommend using their services if you're in search of sisal rugs or remnants.
Sunday, July 27, 2014
Cat Shelves
Well, some might say that our family has moved into crazy
cat people territory. If that is the description for what we’ve done, I’ll
proudly embrace it. Our cats are members of our family and we wanted them to
feel comfortable in their home.
Having been introduced to Jackson Galaxy’s show by my
mother, I immediately was intrigued by the concept of shelving on the walls
around a room for your cats. Having lived in our current house for just over a
year and having nothing really inspiring me for a space on my living room
walls, I made the decision to propose cat shelving to Brandon.
Our oldest
female cat, Booger, is very shy. Since we’ve moved into this house and
installed a cat door in the kitchen door connecting to the garage, her preferred
place is alone on top of the 6’ cat tree in the garage (to stare out into the
backyard). I thought that she might develop some confidence and join our family
more with a high perch inside.
Brandon was quite reluctant about the cat shelving
proposition at first, namely due to the amount of work and money to be
invested, but with a little discussion, he agreed to green light the project
and has since said that he’s glad we went forward with it.
I looked at IKEA’s shelving (and brackets) to determine what
lengths were available. With those lengths in mind, I went about the room to
see how much space I’d like the shelves to cover. With that information, we
determined how many of each shelf size we would need.
I cut twine to the lengths of the proposed shelves and taped
them onto the wall with painter’s tape to decide on shelf locations. It was
really nice to have an idea going into the project of where everything would
hang and how it might look.
**Taking Jackson’s recommendations about multiple exit/entry
points to heart, we made certain to include them and it has proven helpful for
our less confident cat to have a getaway when our playful cat decides to poke
fun at her.**
We ended up purchasing 4 of the shelves in the 74 ¾” x 10 ¼”size, 2 of the shelves in the 43 ¼” x 10 ¼” size, and 4 of the shelves in the 11¾” x 10 ¼” size. Given that the recommended weight on some of the shelves (they’re
intended to be free floating) was between 7-33 pounds on the small and medium shelves,
we opted to buy some brackets to reinforce the small and medium shelves just in
case.
We also wanted the cats to have more comfortable spaces to
lie down in addition to the actual shelves, so we made sure to incorporate
these really fun cardboard scratcher/loungers (which were surprisingly cheap on
amazon) in addition to the jumbo fleece pet bed atop the china cabinet.
The only problem we have encountered with
the scratcher/loungers has been that our more rambunctious scratcher has gone
at one of the loungers so vigorously that she has flung it off the shelf.
Fortunately, she has not been hurt (or any property, it’s very lightweight) and
it has not scared her off continued scratching.
In addition, I wanted to provide a surface on the shelving
that would prevent the cats from potential slipping as they hopped up or down
as well as ran on the shelves (which they do often!). In my research I found
that sisal rugs are easy to clean, hold up well indoor/outdoor and to abuse,
are comfortable to be on, and cats love to use them for scratching. Through this company, I was able to buy sisal remnants (which are already backed with
non-slip materials). We ended up having to cut the rolls to size for our
shelves but saved so much money doing it that way over having custom sizing
done.
The sisal isn’t stuck onto the shelves with anything (I
wanted the freedom to change it out or repurpose the shelves down the road if
our new spaces don’t accommodate all of the shelves), but we’ve had no real
problems with them. The non-slip material holds them onto the shelves really
well and the only displacement we’ve had have been on the small shelves when a
cat decides to push off really hard in a fast jump. The rug will shift the
smallest amount and we’ll just push it into place as noticed.
You can see the rug shift on the small shelf of this photo. Our most used entry/exit way and the most likely to get slippage. I might consider nailing the carpet to this shelf in the future or perhaps attempting velcro strips.
We added some wall vinyls of cats for fun six months into the shelves being up. I think they're a cute addition, but probably wouldn't put as many up again.
Overall, the shelves have been wonderful. Our shy cat has
definitely made the shelf above the couch with the scratcher/lounger her
preferred place during the hot/cold extremes. She comes inside so much more
now.
Our second female, Sophie, loves the shelves and is on them
daily. When not sleeping in our bed, she is leaping onto the shelves,
scratching ferociously before jetting around the longest shelves to sleep in
the pet bed on top of the china cabinet. Her second favorite spot is nearby the
pipe from the wood stove in the winter: staying warm and getting a view out the
front window from her high throne.
Our youngest and most playful cat, Luca, has only recently
acquired a love for the shelves.
He is constantly seen peeking over the shelf
that is above the entry to our kitchen or laying down on “Boog’s shelf” much to
her annoyance.
My six year old enjoys throwing small cat toys onto the shelf and Luca racing up the shelves to retrieve them.
We also like to bounce the laser along the walls and watch the cats go racing up the shelves after it.
We love the shelves. We will definitely re-install them as
we move into a new home. We think that cat shelving will become a permanent
fixture in the rooms that our family frequents the most and might even make way
into bedrooms, but to a lesser extent than this living room undertaking.
Items purchased for the shelving are linked above, but a
list below as well:
Sisal Rug Remants - Sisalrugs.com *Note: the remnants will come in differing sizes and colors/textures of sisal, we received a nice mix of dark/light scraps and varying thicknesses and incorporated a few different ones for the cats*)
Subscribe to:
Posts (Atom)